The first photos many photographers take underwater are of patterns. Aiming your lens at the details of a stationary leather or brain coral is a sensible way to learn the basics. The pictures are attractive too. Our eyes — or rather, our brains — are addicted to visual order and love photos that show it. It’s like a mild case of OCD: When objects are aligned, we find them satisfying and soothing, and when they’re not, it’s infuriating.
Photography Tips
1) Fully Focused
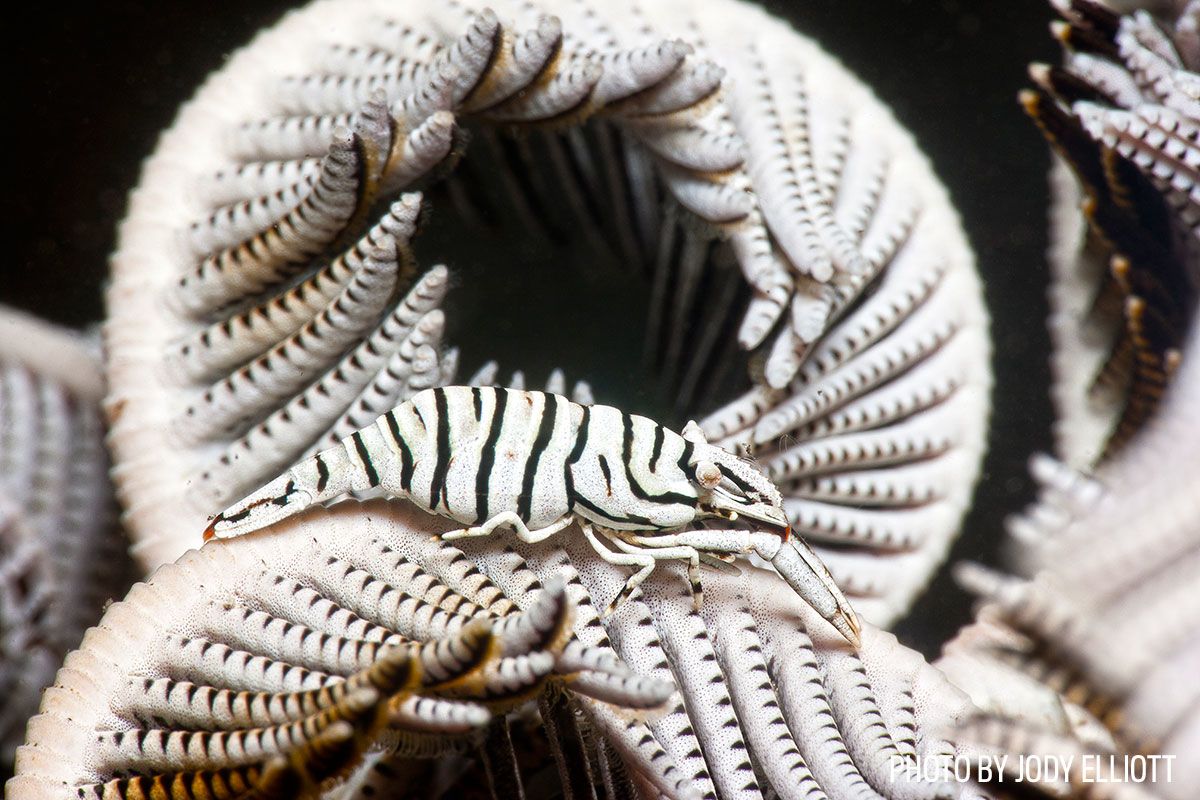
Patterns are comforting for the eyes and brain, but this means any technical mistakes jar our enjoyment far more than with other types of imagery. It also means that when shooting patterns, you must get the details right. Patterns usually look best with as much of the pattern in focus as possible. Position the camera parallel to the subject and close down the aperture to keep everything sharp. Take extra care with your composition to keep the dominant elements, such as the curls of this crinoid, balanced in the frame.
2) Salad Bowl
Jim Church, the late, great teacher of underwater photography, called random photos showing details of the reef salad-bowl shots. He said those pictures “show a little of everything, but not much of anything.” These are pictures where nothing is really wrong, but there is no subject for the viewer to latch onto and love. You can avoid the salad with careful framing and by just including one type of background — such as the crinoid here — in your shots. Even better, many reef species have commensal critters living on them, which provide the perfect photographic focal point.
3) The Right Light
Macro patterns can be formed from details, textures or colors, and the best lighting technique for one is not the best for all. Color patterns and details look great in even illumination. If you use one strobe, pull it in right above the lens. If you use two, position them on either side of the port and set them to the same power. Patterns of texture stand out clearest with directional lighting, which creates shadows and shows the three-dimensionality of the subject. If you’re using one strobe, move it away from the camera so light comes from the side. If you are working with two strobes, turn one down or off.
Repeating Treats
The most eye-catching natural patterns come from repeating shapes, most commonly seen when animals gather together.
Beginner Tip
Schooling fish are the classic subject for repeating patterns, particularly when the current is running to line them up or they are in polarized schools and moving as one. Search for schools where all the fish are the same species, size and color. Fish are most likely to hold their arrangement when you do not approach too closely. One of the primary laws of underwater photography is to get as close as possible, but when it comes to fish formations it can pay to keep your distance so they maintain their order for the shot.
Intermediate Tip
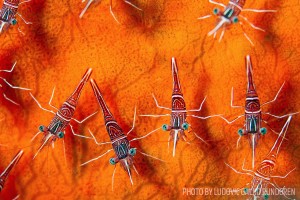
The visual contentment we get from looking at patterns increases when they are as close to perfect as possible. This is much harder to achieve when working with moving animals. Photographers often spot a great shot from a distance, but by the time they are in position, the chance is gone. Patience is the answer because those impeccable formations are worth waiting for. Don’t be too greedy, and don’t be afraid of cropping in: Three perfectly aligned shrimp are better than eight with one chopped in half by the frame.
Advanced Tip
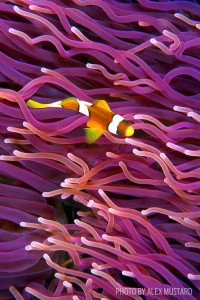
Once you’ve captured a few perfect patterns, it’s time to break the rules — as all true artists do. Look for abstract, nonrepeating patterns, such as the detail on the flanks of tropical fish, which are often a riot of color without symmetry or rhythm. Another option is to turn your schooling shot on its head by waiting for one fish to swim past in the opposite direction. These eye-catching, against the-flow shots are some of the best-selling images, regularly created by artists in Photoshop to be used in advertisements.
ALEX MUSTARD
Source: Sport Diver


